Pages

Saturday, May 31, 2014

A Kitchen Remodel Project: Part 1


I am so excited to start sharing one of my latest projects........we are remodeling our Church Kitchen.  Our Church was built in 1958 and the only thing that has been done to it since then was paint.........I have repainted almost every room except the sanctuary!
We have dreamed about giving the kitchen a major face lift for ten years, but every start has ended without success.  We recently had a major donation which gave us the financial help we needed to make this project happen.


So, I am going to share some pictures of the before and the during.  Trust me, this is not happening overnight.  We have an entire congregation to please (many of them were involved when our Church was built).   Nothing worthwhile is ever easy, right? 


Here are a few pictures of what we started with, our cabinets were built on site, painted copper with copper appliances..........really right in line with the era:


Our ventilation was only slightly outdated:  (This is on the "to do" list!)


Our plan is to remove this wall and doorway:  (Opening up our space)


This also meant that I had to strip some of the wallpaper border I had put up with adhesive nearly 14 years ago.  At the time, I guess I planned on it being there forever.  It did take me several hours of work.  Tip:  Water and Downy Fabric Softner sponged onto the border softens and soaks the paper making it easier to strip.....still quite a job.


Before starting our demo, we had to clean all the cabinets (accumulated since 1958).
We are storing everything in a trailer parked outside during the process:


Our remodel project includes the following:  taking down one wall and door, replacing flooring, all new cabinets, new paint, and all new appliances.  We will also be installing a Hunter Douglas window treatment as a room divider, insulating a breezeway, replacing doors, and then reusing some of the old kitchen cabinets in a storage area.  I have been working on this project since February and am so excited to keep you updated on the progress.

Stay tuned........Kandy

Wednesday, May 28, 2014

Brunch and Baubles


A few Saturdays ago I hosted a fun little party for my girlfriends. I love Stella & Dot jewelry, and my friends Sarah and Susan were sending me friendly reminders that it was my turn to host a party. So I connected with a stylist in my neighborhood and picked a date. It's pretty much that easy.

***Update: I'm now a Stella & Dot stylist! Feel free to reach out if you'd like to host a party of your own or purchase any of the great items you see on the website!***

Of course, you all know that I can't just do anything TOO easy. I made it a brunch event complete with mimosas and yummy food.

Our stylist, Hannah, showed up and set up all the beautiful jewelry in my dining room while I put finishing touches on the food.

Here's the spread!


Beef Pinwheels from BeefItsWhatsForDinner.com. I had leftover pot roast, so I just spiced it up with the instructions in the recipe instead of using ground beef. I also used the pepper jelly instead of the cream cheese frosting. They were a hit!


I also made my no-fail Cantaloupe Salad.


I added a really easy Yogurt Parfait Bar.


And then I had to finish it up with something sweet, so I made these Baked Nutella Doughnuts from CookingClassy.com.


Here are a few of the pieces I got from the party. I'm thrilled with them so far. (all images courtesy of Stella & Dot)
http://www.stelladot.com/shop/en_us/p/jewelry/bracelets/bracelets-all/sardinia-bracelet-red-blue?color=red
These earrings are perhaps the most genius things I've ever seen. They can be worn like you see below or you can remove one of the drops, so they're single drops, or you can remove all the drops and wear them as studs. SO VERSATILE!
http://www.stelladot.com/shop/en_us/p/jewelry/earrings/earrings-all/sardinia-chandeliers

http://www.stelladot.com/shop/en_us/p/jewelry/earrings/earrings-all/norah-chandeliers

http://www.stelladot.com/shop/en_us/p/jewelry/necklaces/necklaces-all/rebel-pendant?color=silver

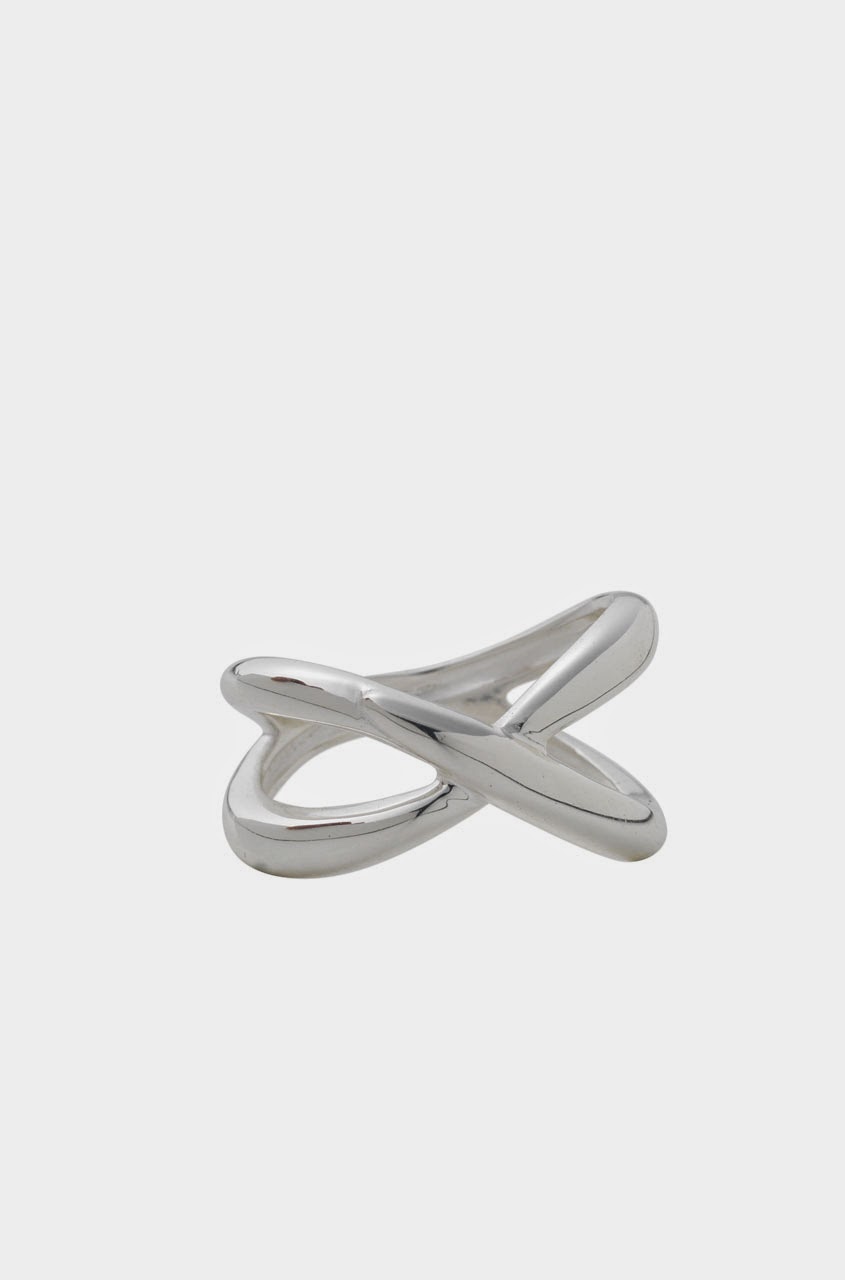
http://www.stelladot.com/shop/en_us/p/jewelry/rings/rings-all/odette-ring-silver


Happy shopping!
Karli

Tuesday, May 27, 2014

A Little Black Paint


I have wanted to do this for quite a while, but the timing was crucial.  It needed to be just warm enough, not too much wind blowing, and no mosquitoes or flies out yet......... 


I am talking about repainting our front doors.  They've been white for years.  I loved them at one time, but they show every fly speck and dust and require constant cleaning.  I have wanted to paint them black for several years and I made that happen last week.

Here they are white:


Fly specks and dust:


I thought I was over the brass door handle and brass porch light:


Then after two coats of Sherwin Williams Tricorn Black Exterior Satin Paint with the doors left open to dry during the process, here are the results:


The Before:    


The After: 


Even though I had planned to repaint the brass, I have decided the brass door handle and porch light don't look too bad now.   I think they show up and I actually like the contrast.  I need a larger doormat......isn't it funny how doing one thing makes you need to do more?   It is still too early here to have flowers, so the pots are empty.  In another two weeks I will be planting my annuals, but I just couldn't wait to show you what a little black paint can do.....actually one quart.


I love black paint!
Kandy

Tuesday, May 6, 2014

Karli's New, Old Farm Table


Karli's birthday is coming up soon.  Almost every year she gets something homemade or refinished from Mom and Dad.  I guess it is just important to me that her gift is something made or remade with love.  This year will be no exception. 


She is getting a New, Old Farm Table.  She has a dining table now.  In fact it is one I repainted for her ten ?? years ago.  It is black and still in good shape......she may be selling it.  She has been saying she wanted a larger one and she wants it to be white.  She also likes the look of distressed, recycled wood on top.  Great.....


I staged a house for resale last month and was partially paid with furniture.  One piece was an old farm table that had been in the owner's shed for years.  At one time the top
had been covered with oil cloth.  That had been removed, but the old tacks were still buried in the wood.  These had to be dug out.  And as if that wasn't bad enough, the top  had then been recovered with Contact Paper...........why do people do that?  The legs were dirty yellowed cream paint.  Other than that, it was in great shape.


I did not have great success trying to pull or scape off the old Contact Paper which had probably been on since the 1970's.  I ended up using the blow dryer to heat up the Contact Paper, making it pull up easier.  I still had to do quite a bit of scraping. 


Then I discovered underneath the Contact Paper that the top was painted the same yellowed cream.  Oh NO.....Karli wanted a dark wood top.  So out comes the stripper.
Did I mention that I love to STRIP!


This old table had been used for years as a "utility" table for craft projects, planting, and as a surface for small home repairs.  But, Karli said she wanted distressed.  Dwight kept asking when I was going to get out the big sander and wood putty.  I kept reminding him that this table had history and character, both of which would remain.  Karli and Brent wanted a table that could be abused, one that had that rustic feel, kind of a Pottery Barn look.


I did repaint the frame and old legs white, (Karli's choice now), but I distressed them. The top got stained dark, leaving some old paint down in the pits.  It then got 3 coats of Satin Polyurethane, (sanding with steel wool between coats.)   Here is what Karli's New Old Farm Table looks like now:


And here is Karli's New, Old Farm Table at her house.....


(She would like me to let you know that she'll do a full post with the final look of the room soon)
Happy Birthday Sweetheart!
Kandy

Monday, May 5, 2014

Busy Birthday Weekend


***pic heavy post!***

This past weekend was a whirlwind! Mom and Dad came up to Denver for a visit. We were celebrating my birthday and Mother's Day a little bit early. Mom also brought several pieces of furniture to store in my garage prior to the Paris Street Market. Dad wanted to pour a step in our garage and I wanted to refinish a few pieces of furniture of my own. It was busy to say the least.

I'll do a full post on the furniture pieces but here's a bit more about the step. The step leading out to our garage from the house had a problem....the floor below it had sunk, so there was a REALLY LARGE drop. Brent and I were sort of used to it, but everyone who stepped down got a big surprise. So we needed to fix it!

Eight bags of Quickcrete. Looked like a lot, but surprisingly we needed all but one of the bags.

 
My dad loves to study projects. He also loves to engineer ways to build things. He had been planning this for weeks.


Building the supports and the frame.


Here you can see the large drop off and the gap between the single step and the floor.

 
These were the ingenious supports Dad dreamed up for the frame. We needed something strong so the cement wouldn't just ooze out.


Some of the important tools. We were rocking and rolling at this point!


This was just a small part of the mixing process. Mom and I were the lucky ones who got to mix the Quickcrete and lug it over to the step. Dad took care of smoothing it out.


Working with Quickcrete was DUSTY. Thank goodness for masks.  


Here Dad is using a tool he built called a "darbie." It is very smooth and levels out all the concrete.


It is SO wonderful to have two easy steps into the house instead of one giant step.

PS...we tried to put Porter's paw print in the step, but we waited too long. It was too hard to make an imprint!


Saturday evening we went to one of my favorite local Italian restaurants to eat a glutinous meal. (Although Mom and I did share ours, so it wasn't quite as bad as it could have been!) Even if you don't like eggplant parmesan, I would dare you to try this one. It's been known to make converts of eggplant haters!


Sunday afternoon we smoked ribs and completed a few more projects. My dad proclaimed this would be his choice for a dying meal.


Now here's a little preview of the other pieces of furniture we refinished. I'll post more this week. I can't WAIT to show you how these turned out.


Hope you're having a great week!
Karli