Showing posts with label brass makeover. Show all posts

Thursday, May 12, 2016

A Simple White Hutch

I should have known. Calling something "simple" in my mind, in my inventory system and to my family is the kiss of death.

I found a lovely, "simple" hutch a few months ago. It was obviously handmade. It had clean lines with a cute little curved board at the top. I was just sure this would be a great makeover!

The back had a handwritten note stating that it had been "lovingly refinished by XXX in 1994." That loving refinish was an orangish brown stain with a few drips in places. The loving refinish also included adding mirrors to the backboard of the top shelves. Oh, and new shiny brass hardware.

Maybe that was showing the piece TLC back in 1994, but today it called for paint! Also, the mirror had cracked at some point, so I was sure I could just smack it with a hammer and get all the pieces out. And the hardware---I'd reuse the ugly brass and simply paint it black.

Here's where my simple plan for a simple piece went downhill.

First, the mirror wouldn't shatter and I could NOT get it out! Next, I painted the hardware and put all the doors back in the exact same holes. But the doors weren't aligned and they wouldn't close!

This is where teamwork comes in handy. Mom and Dad were in town, so we put Dad to work on the alignment problem while Mom and I brainstormed how to handle the backboard.

After a few months, I'm happy to say I JUST finished this piece. I will be renaming it in my inventory list and on its price tag. It will now be "Shabby White Hutch."


The final hutch with a sweet gray and white trellis backboard.
 

I love how the pattern looks through the glass.


The reused hardware turned out great! It looks a bit old and worn.
 

I can just imagine sterling silver serving pieces, white ironstone dishes and wood bowls stacked in this hutch!
I'll be dropping this off at Unlisted in the next week!

Have a great week,
Karli

Thursday, March 12, 2015

A Brass Lamp Makeover: Industrial Metal Look Paint

When you makeover a room, like I am in the process of doing, sometimes a limited budget requires getting creative. I've had this brass lamp since 1984 when this cute picture was taken. Karli was three. Check out the old waterbed in the master bedroom as well.


I know that "Brass is Back" and I do have brass touches throughout my home, but in this case, I wanted a new lamp but decided to make this one over instead. I should have taken a close up of the lamp so you could see it better. But I often jump right in before thinking about the fact that I should document what I did.


Anyway, I cleaned up the lamp base and wrapped the cord with painter's tape, just to keep the overspray from hitting it. I got creative and used leftover spray paint from other projects. I first used a can of spray primer (ruddy red). After that was dry, I applied a light coat of the Krylon Brushed Metallic, Oil Rubbed Bronze in Satin Finish. Then, while that was still wet, I sprayed on some of the Rust-Oleum Hammered Spray Finish in Brown, in random areas. After those were dry I sprayed on the Krylon Looking Glass Finish, where the seams of the lamp base are. I then went back added in areas of the Oil Rubbed Bronze Finish to create shading. Here are the products, except for the primer.


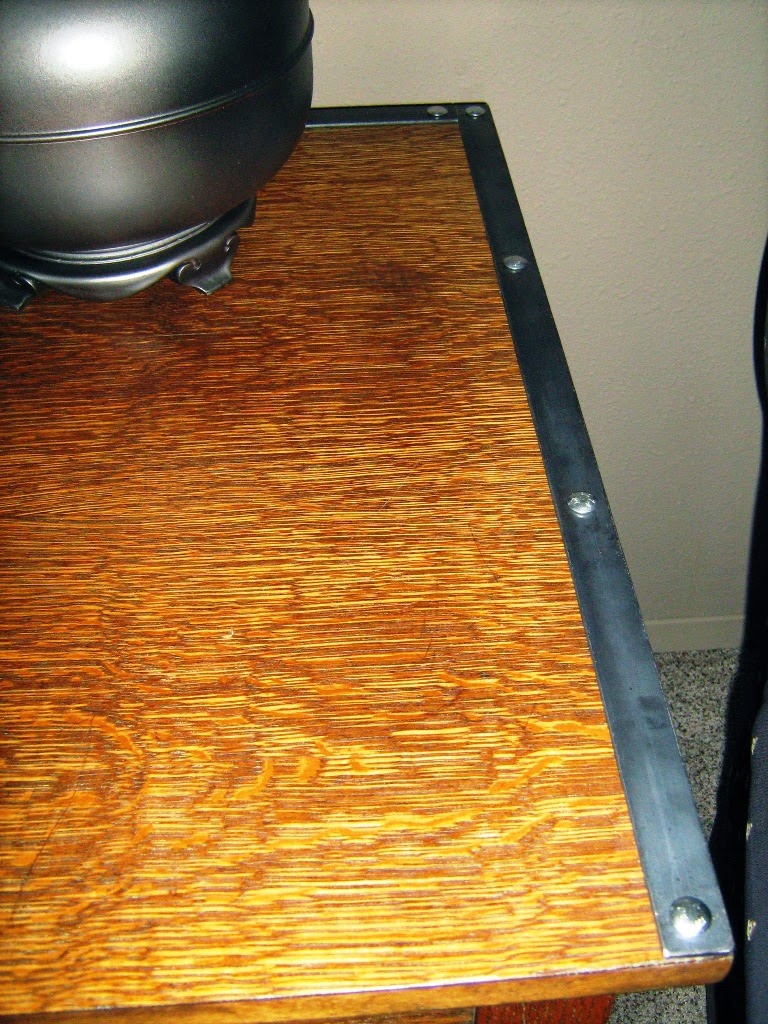
The finished lamp looks like a new one, right? I did replace the white pleated shade with a khaki one. I think the lamp now looks more industrial and fits right in with the metal straps we added to the oak library table. That was another makeover project we did to cover the oak veneer edges that were peeling up.


I am still working on this room but it is slowing coming together with more fun than funds!


Still getting crafty, Kandy