When you makeover a room, like I am in the process of doing, sometimes a limited budget requires getting creative. I've had this brass lamp since 1984 when this cute picture was taken. Karli was three. Check out the old waterbed in the master bedroom as well.
I know that "Brass is Back" and I do have brass touches throughout my home, but in this case, I wanted a new lamp but decided to make this one over instead. I should have taken a close up of the lamp so you could see it better. But I often jump right in before thinking about the fact that I should document what I did.
Anyway, I cleaned up the lamp base and wrapped the cord with painter's tape, just to keep the overspray from hitting it. I got creative and used leftover spray paint from other projects. I first used a can of spray primer (ruddy red). After that was dry, I applied a light coat of the Krylon Brushed Metallic, Oil Rubbed Bronze in Satin Finish. Then, while that was still wet, I sprayed on some of the Rust-Oleum Hammered Spray Finish in Brown, in random areas. After those were dry I sprayed on the Krylon Looking Glass Finish, where the seams of the lamp base are. I then went back added in areas of the Oil Rubbed Bronze Finish to create shading. Here are the products, except for the primer.
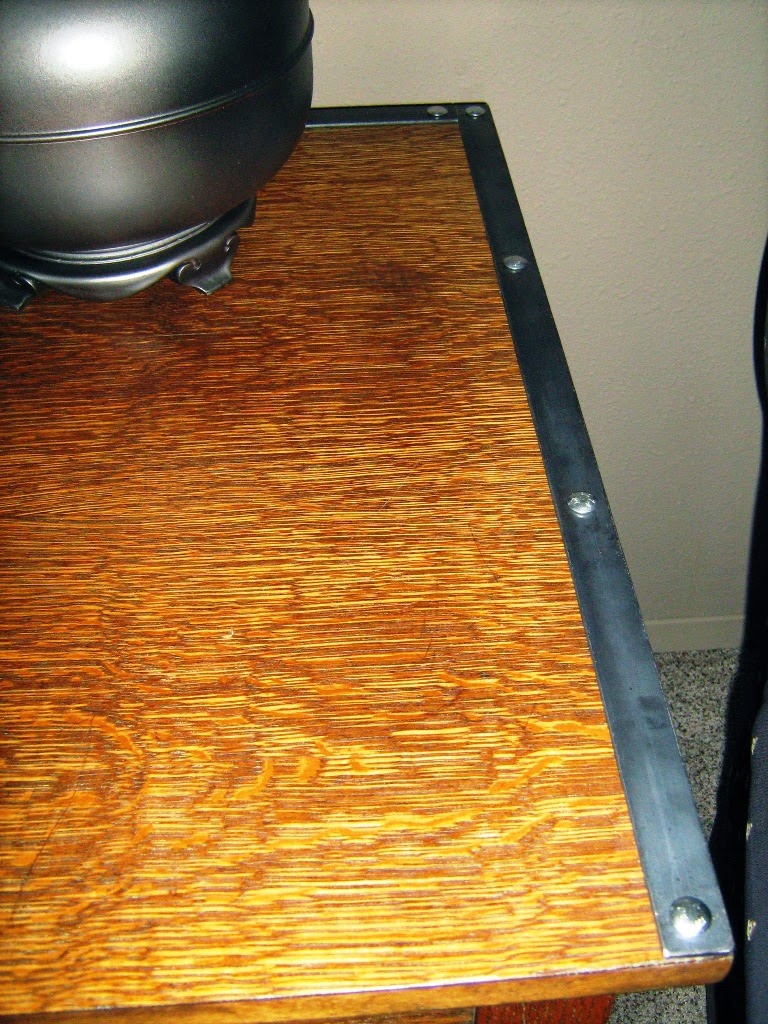
The finished lamp looks like a new one, right? I did replace the white pleated shade with a khaki one. I think the lamp now looks more industrial and fits right in with the metal straps we added to the oak library table. That was another makeover project we did to cover the oak veneer edges that were peeling up.
I am still working on this room but it is slowing coming together with more fun than funds!
As I've mentioned numerous times, our home was built in 1970. When we moved in, I vowed I would be changing all of the ceilings that had the popcorn acoustic texture on them. We have lived here for almost 33 years and I just finished knocking off the last one. Because I want you to share my agony in doing it and my joy in having it done, I am going to share my experience with you. Here is what I started with. I really don't know where the term popcorn came from. It actually looks like "large curd cottage cheese" to me. It is awful.....whatever it is. It is impossible to keep clean. Cobwebs get stuck in it. If you ever let a pecan pie boil over in your oven and the house gets smokey.....it goes to your ceiling to live. Here is the last one in our home. It is located in what we call the den--where the desk and computer reside. This room is right off of our front door and entry hall. What an awful way to greet guests.......
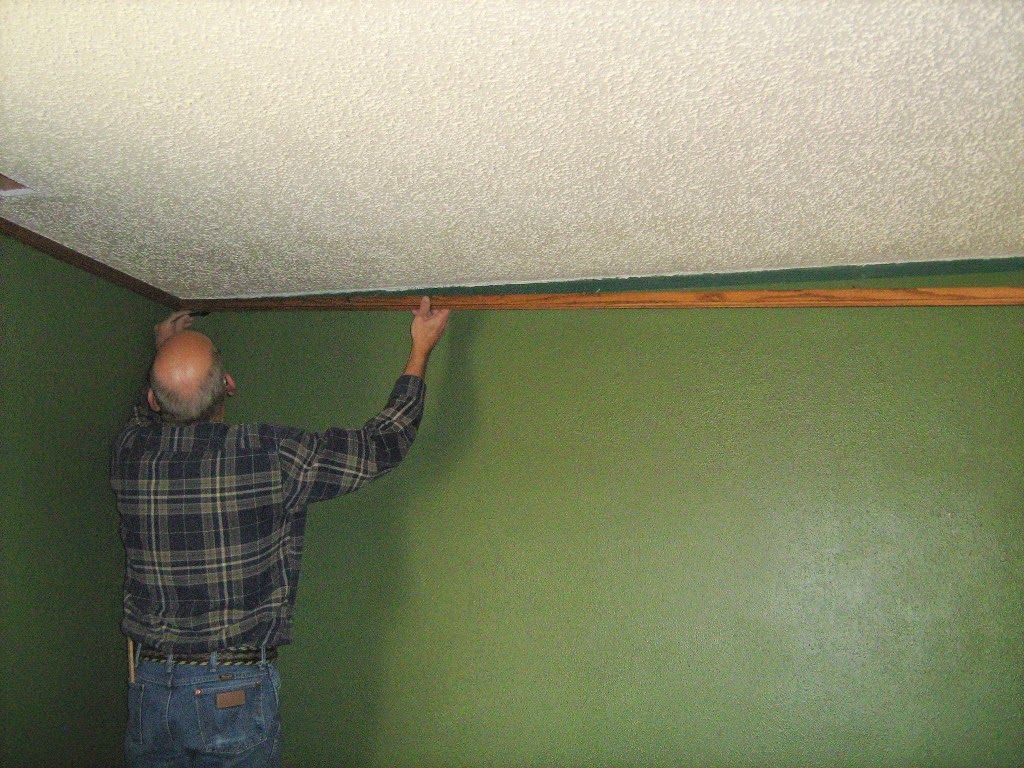
First, the oak trim came down with hubby's help. Notice the old hunter green wall paint that is going away too.
Then I got to work...First I filled an old squirt bottle with water and squirted my work area, (while on a ladder, of course).
Then I used a putty knife to scrape the texture off. There is a knack to this. You don't want to scrape so deep that you go all the way to the sheet rock. If you do that, your ceiling will require first a skim coat and then a coat of new texture. I wanted to leave some of the texture there, just not the heavy "cottage cheese."
Here is a lovely shot of me doing the job. Glasses or goggles keep the stuff from falling in your eyes and a mask is in order. If you are like me and still have hot flashes, your glasses will continue to fog up. And, did I mention how bad your neck and shoulders will hurt from continually working over your head. I am sooooo glad I do not do this for a living.
That is what I looked like and this is what the floor looked like. I was getting new carpet so I just let it fall on the old carpet. In previous rooms, I've held a trash can to catch the stuff, but not this time!
Here is what progress looked like......
I had to mist and scrape, vacuum down, then damp mop, yes mop the ceiling. The dust just kept coming. After all of that, I primed the entire ceiling with Zinsser Primer. This stops the dust from falling and gives the new texture or spackle something to stick to.
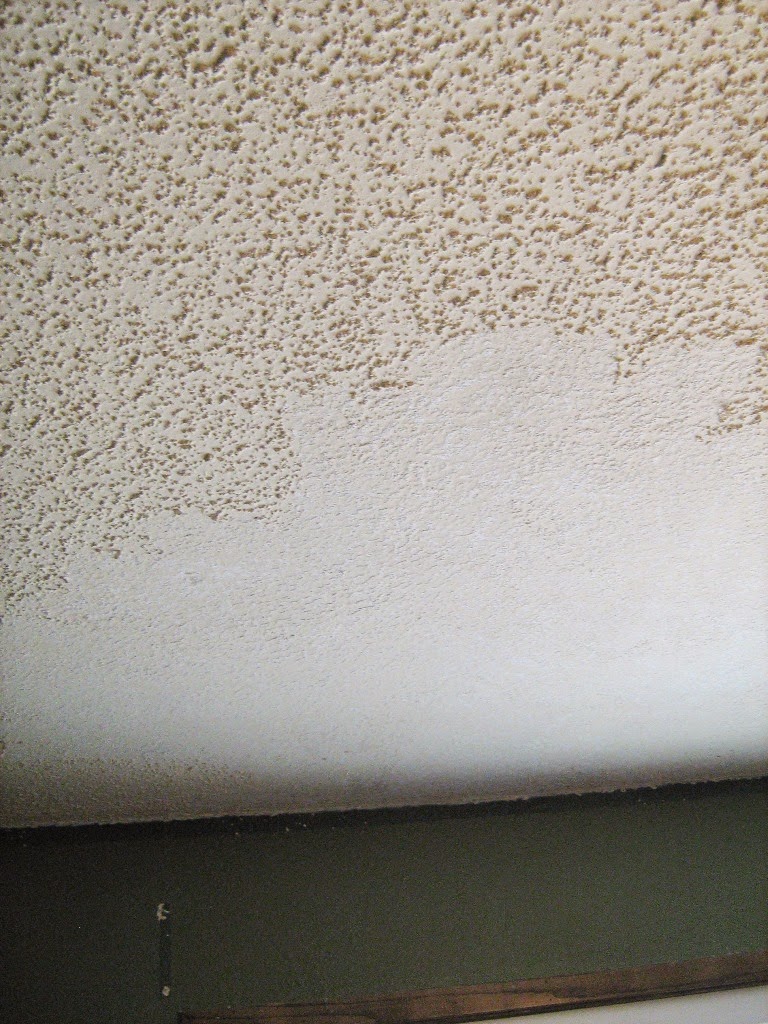
Then I began putting a spray texture on in a random pattern. I had been assured that the can of spray texture that I bought was new and improved, but low and behold when I was 3/4 done, it clogged and refused to spit forth any more texture. I was left to my own devises with a can of spackle. I did my best to give the ceiling a random, what I call, a "knocked down," unexpected look. After that, I again took my putty knife and scraped all over lightly. I did not want to have any little "hangy down balls"....
When I was as happy as I could be with my texture job. I again vacuumed the ceiling and then painted the ceiling with two coats of flat white paint. The flat paint hides a lot of imperfections. Then I painted the hunter green walls with two coats of Sherwin Williams Tavern Taupe, which I love. Here is a picture of the progress.
The new carpet arrives this week so I will finish giving this room a fresh new look and let you get a peek later.
Oh, and while I was working in this room, I left hubby unattended and he started tearing out the floor in the utility room and downstairs bathroom..........Oh My!!!
It has been quite some time since I decided I was making over all of the bi-fold closet doors in our home. You can check out my first closet door makeover here (our most popular post to date!). Those got black paint and now this project gets just the opposite.....white. I'll give you the steps just in case you ever want to give yours a new look. The ugly bi-fold doors came down and were sanded. They had been stained like all of the woodwork in the house.
The plan for trim was made and pieces were cut.
I glued the trim on with Liquid Nails adhesive. I like using it better than wood glue on these old 1970's hollow-core bi-fold doors. It seems to stick quicker.
We clamped the trim pieces in place while they were drying.
We kept checking for square.....important.
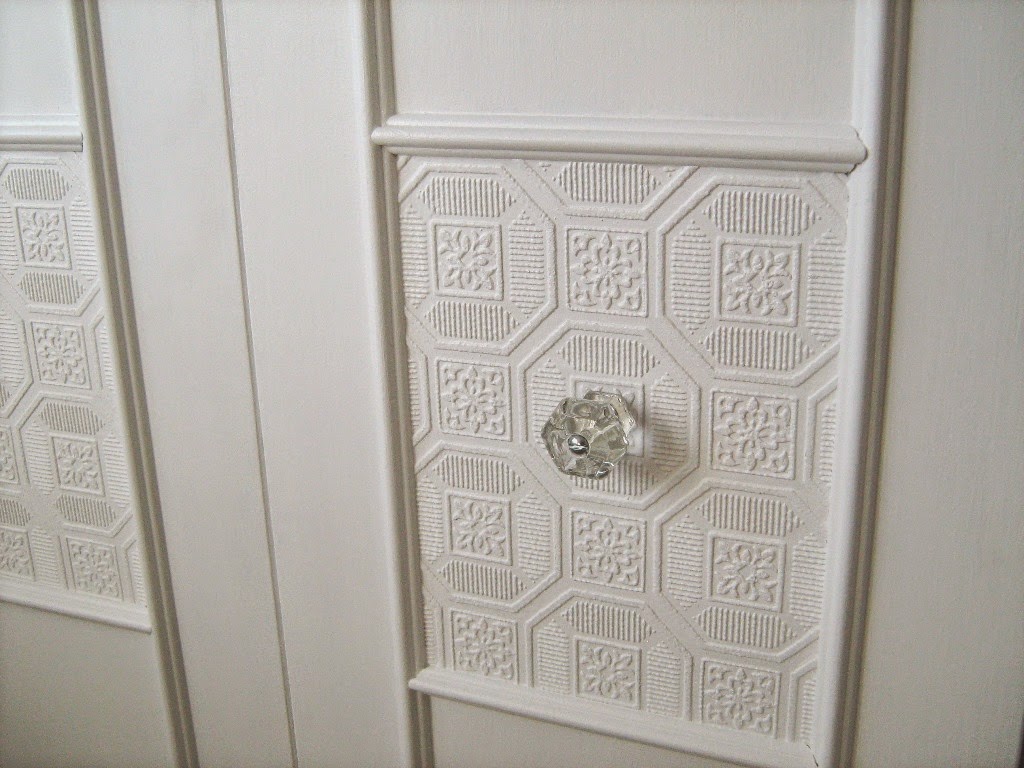
I decided to use wallpaper (that matched my border in the room) on the center section of my doors. The wallpaper was cut using a square as well. I glued it on with Wallpaper adhesive.
Here is one door with all the trim and wallpaper is place
Next the entire door was primed with Zinsser Primer. This was followed with two coats of Sherman Williams, Extra White in a Satin Finish.
The finished closet doors:
The glass knobs are vintage finds that go so perfectly in this room.
You can see the matching wallpaper near the ceiling in this picture. Finally (because it took me a while to get this finished)............Another successful closet door makeover.