
Here it is...you can see it even took a blow on move-in day...
 |
| A close up of the damage |
Karli's Daddy helped with the project. We cut a 2x4 (a board that measures 2 inches in depth and 4 inches in height) to the same width as the door...29 3/4 inches. We cut off the top of it using the radial arm saw, squaring it up to fit the bottom of the door. We then glued it and clamped it to the bottom of the door.


We knew the door was now too long but we wanted to actually cut it off after we got to Karli's house. You know the old saying, measure twice, cut once. Well, that's what we did. Measurements taken over the phone can vary!!!
After the glue was dry, I lightly sanded the door and primed the new board on the bottom. Then we were ready to transport it to Karli's house along with the circular saw, tools and clamps.
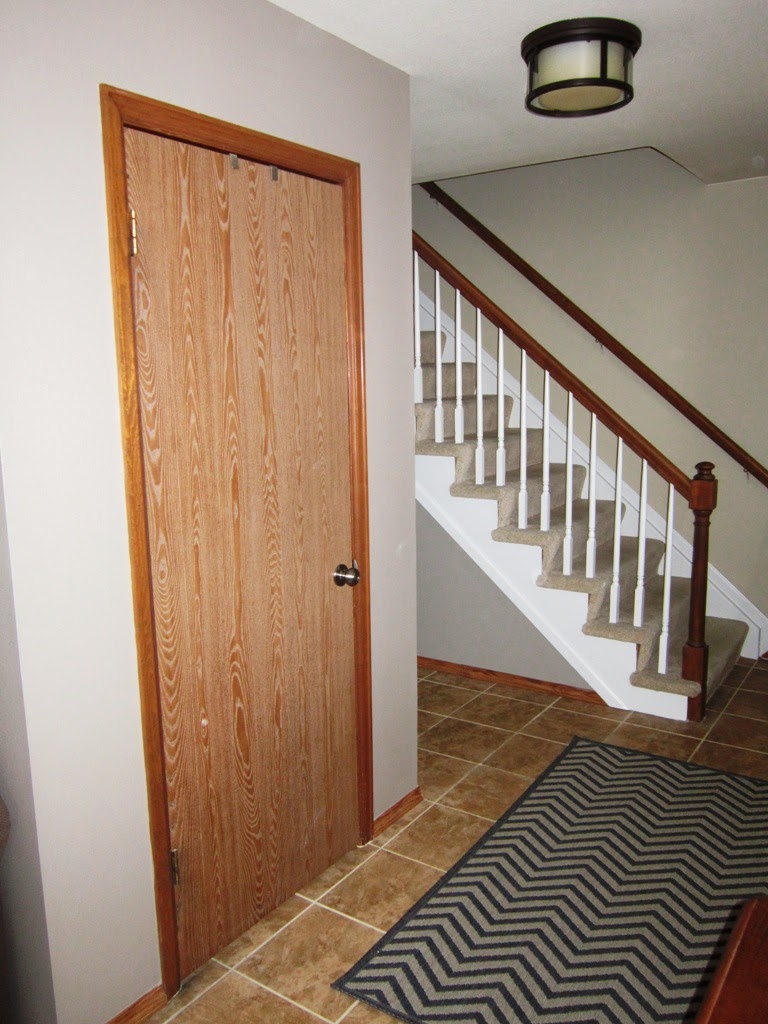
When we got to Karli's we removed her old door and sized it up next to the vintage replacement.
 |
| The vintage door is under Karli's closet door for the size-up |
We got so lucky...the hinges lined up. The door knob catch was slightly off but we quickly fixed that with a wood chisel. We used the circular saw to cut 2 inches off of the board we had glued on to the bottom. We then drilled holes and reinforced that board with long wood screws. A test fit to make sure it was all a go...we used a small plane to shave off a little where it was rubbing. Then it was time for the fun stuff.
 |
| A test fit of the door with the additional piece on the bottom. |
 |
| Shaving a little off |
We could hardly wait to try out Krylon's Looking Glass Spray.We followed the advice from Pinterest and sprayed a mist of water on the glass before applying the Looking Glass. We put three light coats on the inside (or back) of the glass.
 |
| A good cleaning before we started spraying |
 |
| This was just the first coat of Looking Glass, after the water spritz. |
We were happy with the effect. It looked like old vintage mirror glass.
After that was dry, I cut squares of paper to lay on the glass, while I gave the back of the door two coats of black spray paint, Krylon Black Satin, followed by a coat of MinWax Semi-Gloss Polyurethane. We let that dry overnight, then turned the door over and repeated the paint process on the front. This time, we taped off the glass.
 |
| Finishing with Poly |
 |
| An up-close of our taping and protecting |
We could hardly wait until the next day when everything was dry. We attached the hinges and door knob and hung the "new old door." We were all thrilled with the results.
 |
| See another view of the before and after here. |
~Kandy (and a little bit of Karli)
Wow...that turned out great!
ReplyDelete