Monday, December 2, 2013

New Floors Finally Going In!

Two years of waiting and it's finally happening. Our main floor carpet and tile was torn out and we're getting our new "wood" floors. See the backstory here.


One week of time, lots of man hours, two bagster bags full of demo trash, thousands of staples and several sore muscles later...we had this.


Tearing out the carpet and the staples in the dining room and front room was a breeze compared to what we had ahead of us with the tile.

The layers went like this:
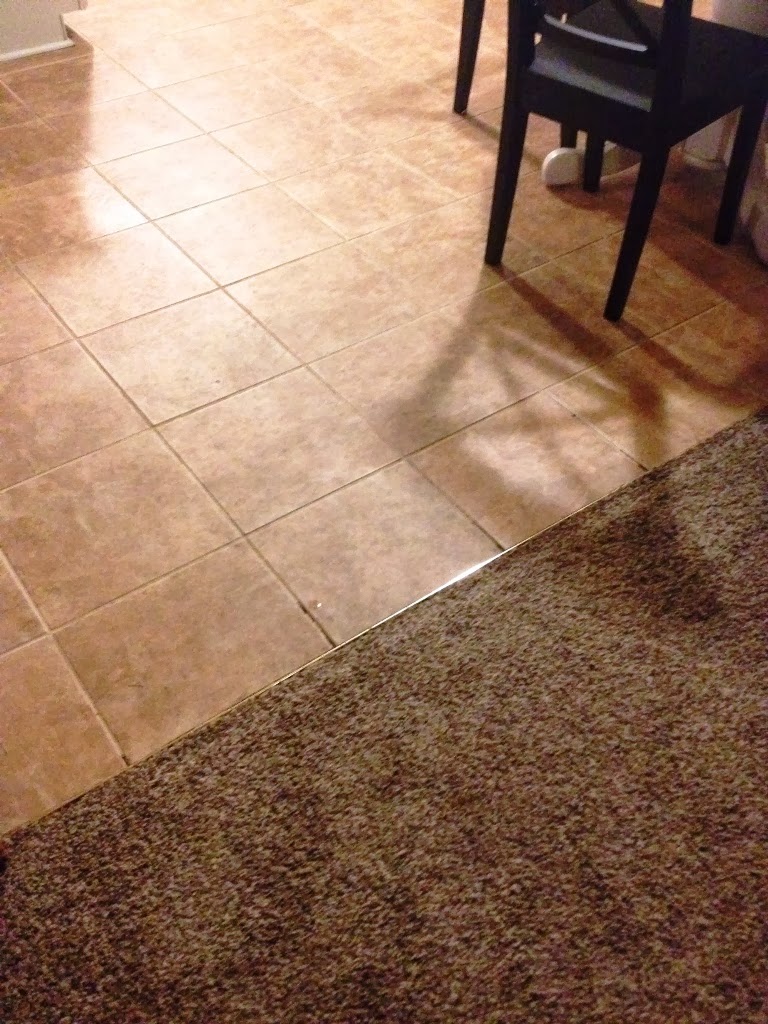
  1. Ceramic Tile
  2. Grout
  3. Tan brick vinyl
  4. Thin wood underlayment
  5. Thousands of tiny staples
  6. Tan vinyl
  7. Glue
  8. Thousands of tiny staples

SHOOT ME NOW!

 
Brent was not happy at this point
 
Pulling up the wood underlayment, exposing thousands of staples that we had to pull one by one

Thanks to my mom and dad for their hours of staple pulling and bathroom demo.


Porter was a huge "help"

At this point in the demo, we hosted Thanksgiving dinner. (I'm not kidding). Brent's sweet sister and her family joined us as we ate a wonderful dinner in the front room, with no furnishings and no flooring. We'll have fun memories of this Thanksgiving.


(Did I mention that we decided to tear out the powder bath too?!) We have a perfectly good cabinet and sink top if you're interested!
 
 
Empty powder bath as it stands now.

As I sit here this evening, I'm already marveling at how beautiful the new floor is looking. The installer is the nicest guy and he's doing great work.

I'm also really excited about what we decided to do in the powder bath!! 

Stay tuned for more progress pictures!
~Karli

Monday, November 18, 2013

Embarassing "Before" Main Floor Pictures

I'm sharing a room that I don't really post much about. The front room. The room filled with natural light. The room guests see when they first walk in. The room with a lovely window seat.

 
The room winds around to the dining room too

This is also a room that has the terrible, nearly white, plush carpet. And the room where our sweet dog, Porter, spends his days...barking at the UPS man and watching the world go by.

See that black Kong Porter is playing with....it's the culprit!
 
Ugh. This is what I'm most embarrassed about. Stains from where Porter eats his Kong. It's black rubber and it leaves awful marks on the nearly white carpet.


When we first bought this house, I had great plans for getting new wood floors on the main level before we moved in. It really was a smart plan. Too bad our budget didn't agree with my plan.


It's actually a blessing. In the two years that we've lived here, I've had lots of time to research wood floors. We have a large dog. We want to have children one day. We aren't rich. We need something affordable and durable. So where did my research lead me? Laminate! (We installed some in our upstairs office early in 2013 and I'm really happy with it).
Look at how the grout is chipping. Some of the tiles are loose too. Ends up, they had applied this right over vinyl. Big no-no!
 
They had also used an incorrect transition piece. Awesome.

So this weekend, we purchased nearly 800 square feet of TrafficMaster Farmstead Hickory 12mm laminate flooring!

And because it's going to save us $1700, we're doing all the tear out ourselves over the next couple weeks. Then a professional comes to install the flooring the week of December. I'm giddy!

Karli

Sunday, November 17, 2013

Master Bedroom Makeover Progress: Part 4

The never-ending bedroom makeover...well I do have progress to share. See previous posts here, here and here.

I finally got to go to the City (yeah).  I got to shop in stores other than WalMart and I got my pillow, which was a gift from Karli. That pillow which I was building my entire room around...the pillow that I had not seen...that vital pillow...the inspiration for fabrics needed to complete this project.

Pillow
Here is the pillow Karli got me and I love it.  It really looks great with my paint color and is just the right amount of traditional/modern to mix it up in this bedroom. Yeah daughter!!

The trip to Denver was worth the wait. I needed drapery rods, draperies, and fabric for the bedskirt and recovering a chair seat...Mission Accomplished.

Here is the progress...........


Drapery Rods
Drapery Rods from JoAnn's Fabrics, Home Inspirations Signature Series, Oil Rubbed Bronze Finish, 50% off sale, $29.00 each.


Draperies
White Draperies from Ikea, Ritva, Cotton, Backtabs, Machine Washable.
Loved the fabric with a linen look.  Also loved the price, $24.99 per pair.


Fabric
The gray-print fabric I found at JoAnn's Fabrics, Waverly brand, 1/2 off.  Had to stand in line for it, but since I also found those curtain rods, it was all good.  I had to recompute the yardage since I had figured it to be 42" wide instead of the wider upholstery fabric I ended up buying. This décor fabric is always more expensive, but it may be 15 years before I redo this room.  It was still an investment at $29.00 a yard.

Bedskirt
I made the bedskirt in sections.  I've made them before using part of a sheet to cover the foundation.  It can still be challenging to move the entire mattress, lay the bedskirt, then put the mattress in place.  This time I made it in three sections, still using an old sheet. 

I cut my gray fabric 19" (the height of the foundation plus some to go under the mattress).  I made two sections 82" length (for the 2 sides) and one section 62" long (for the bottom of the bed.)   I have a Queen size bed.  I then cut the old sheet into 15" tall pieces the same lengths as the other sections.  I sewed the sheet pieces to each section.  It was then so much easier to slide these three sections in place under the mattress, instead of one big one.  It also accommodated the footboard. 


Chair
Recovering the chair was a simple fix.  Here is what it looked like before. (also seen in my post about my favorite old chairs!)


I just turned the chair upside down, unscrewed the seat and then had the huge task of removing all the staples I had put in the last time I covered this seat.  I decided I wanted the cushion thicker so I cut a new piece of foam, then cut the fabric and restapled it all.  


Now that all of that is done (the rods, the drapes, the bedskirt, the chair seat, the new pillow)......the old comforter doesn't look that great.  Isn't that always the way it goes? 

So, this bedroom makeover isn't complete yet.  Now I have to deal with the bedspread/comforter.  Keep checking...I'll get it finished some day!

Kandy