
So like I said, from day one I've been dreaming of hardwood floors on the main level. It was actually my plan to do the floors before we moved in. But other projects took priority (like the kitchen and roof and some bad windows).
Its so fun to see how quickly things change. There are advances in building materials every day. I started looking at real hardwoods and realized that with an 80+ pound dog and future children, they weren't a durable, smart choice for us. Next, I was positive that engineered was the way to go: looks like hardwood, sounds like hardwood, easier to install and more affordable. I spent six months set on this fact and we'd even picked out the color.
Then several things happened. 1) A friend with two dogs randomly mentioned what a terrible decision they'd made with engineered floors. 2) Mom visited a restaurant and commented on their floors, which they informed her were laminate. 3) I stumbled upon a blog post from The Yellow Cape Cod about her new laminate floors. And that was it. I was sold! The price was right, the finishes were nice and everyone who had dogs remarked on how durable the floor was.
We started small, since we're trying to do this DIY. So we chose a smaller, square room as our test. Here's the office before (remember the previous owners used it as a kid's room)...

We purchased an IKEA table off Craigslist to use as the desk and I found a rug at TJ Maxx. But I still disliked the space so much. Until this process started (sorry for the sort of crappy pictures--I took these with my phone in the midst of working)...
 |
| Tearing out the old carpet. You can see I'd already installed a fun flea market light...seriously LOVE that find! |
 |
| Then it took several hours to pick all the staples out of the floor. |
 |
| And finally we ripped all the ugly old baseboards out. |
 |
| Last step for night #1 was clean up. |
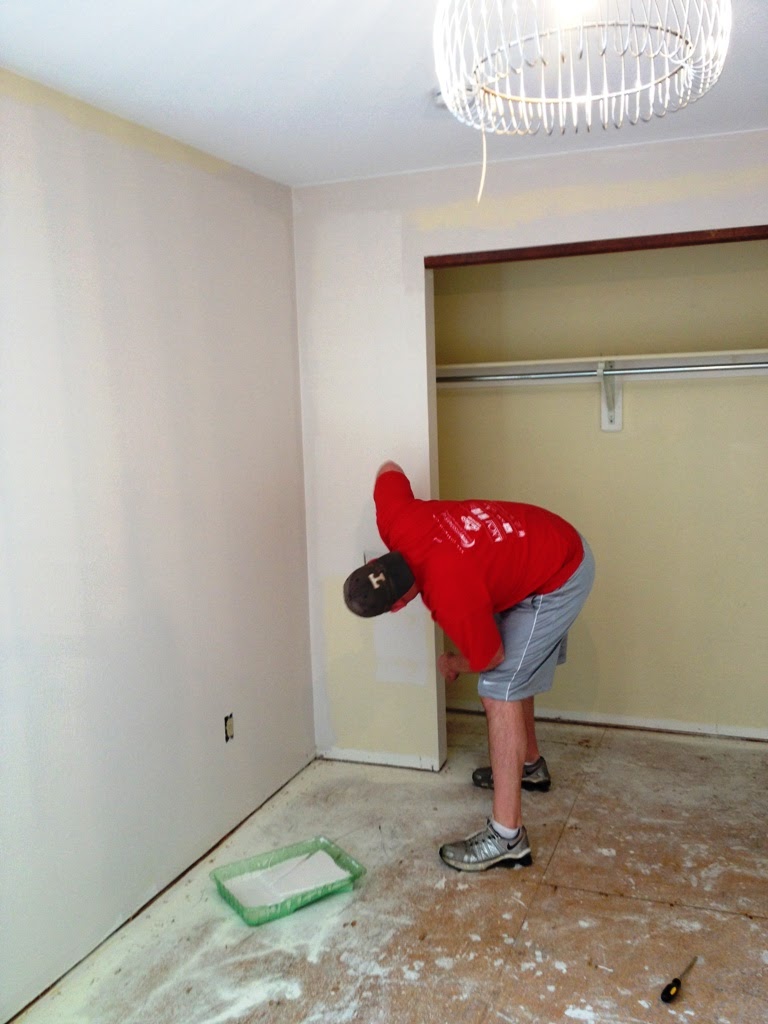 |
| The next day we decided that we may as well paint since we wouldn't have to worry about flooring messes. You can sort of see that it was a yellowy cream. I chose Sherwin Williams City Loft in their Cashmere finish. Seriously, this paint goes on so well--its worth the extra money. I wanted a very light brownish gray that almost read as white. I think this works! (And I might mention, I did all these tasks too, but I'm usually behind the camera instead of in front) |
 |
| After the paint dried, we laid down the underlayment. Next we started putting down the boards...PROGRESS! |
 |
| Here's the room with the floors all in. You can see the taller white baseboards we've chosen. We're installing those tonight. |
~Karli
No comments:
Post a Comment